
The demand for online learning keeps growing, which makes it a smart opportunity. The online course benefits go beyond income.
You can build authority, grow your audience, and make a real impact. Teaching online also gives you freedom. So, you can work from anywhere and set your schedule.
Here, we will walk you through the entire process. Stay tuned to know exactly how to create, launch, and sell your first online course.

Step 1: Choose Your Course Topic
The first step is to choose your course subject wisely. Think about what you’re good at and enjoy teaching. If you’re great at baking, you can create a baking course.
If you know graphic design, you can teach that skill online. Your topic should also be something people want to learn.
The best online course topics solve real problems or teach valuable skills. Check Google searches, YouTube trends, and online forums to see what’s in demand.
Popular topics include business skills, personal development, tech, and creative arts. If people actively search for it, it’s a great topic choice.
Don’t overthink!
Your expertise can help someone, no matter the skill level. Teach your skills online in a way that’s engaging and useful. Once you’ve picked your topic, it’s time to plan your content.

Step 2: Understand Your Target Audience
Before creating your course, know who needs this course and why. Your online course audience will have specific problems they need help solving.
Think like your students: what challenges do they face? Know students well to shape your lessons.
Are they beginners or experts? Do they prefer step-by-step guidance or advanced strategies? Answers to these questions will make your course more effective.
If you’re teaching graphic design, your audience might be freelancers or marketing professionals. If you’re teaching baking, they might be home cooks or aspiring chefs.
The more you know, the better you can teach. A well-targeted course gets more engagement, better reviews, and higher sales. Take time to research your audience before moving forward.

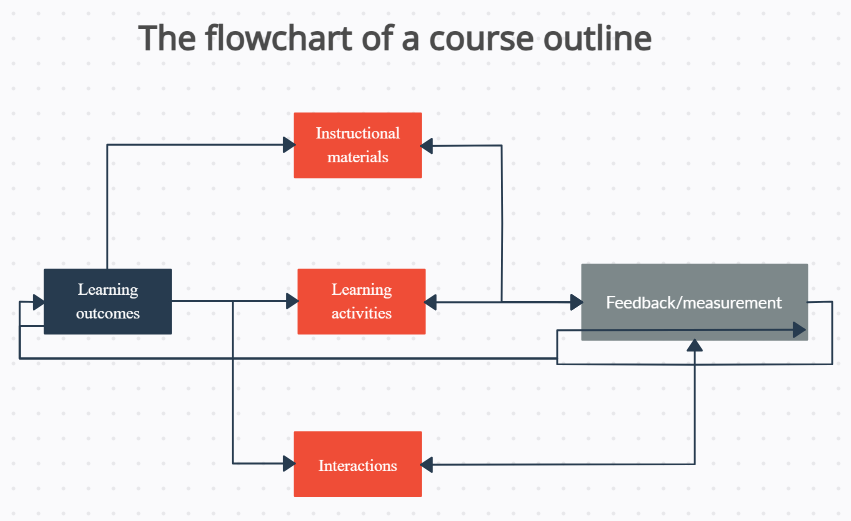
Step 3: Plan Your Course Content
A good course structure keeps students engaged and learning. Start by outlining all the topics you want to cover. Then, plan your online course in a logical order.
Break your lessons into small, easy-to-follow sections. A long, unorganized course can overwhelm students. A lesson breakdown helps them absorb information step by step.
For example, if you’re teaching photography, separate lessons into camera settings, lighting, composition, and editing.
If you’re teaching marketing, break it down into branding, content creation, and social media strategy.
Organized courses make learning easier and keep students coming back for more. Once your content is structured, it’s time to pick the best format.
Step 4: Decide the Best Course Format
The right course format type is key to student success. Some people prefer videos, while others like text-based lessons. The best way to teach online depends on your topic and audience.
- Video courses: Great for visual learners but take more time to produce.
- PDF guides: Perfect for in-depth reading but lack interactive elements.
- Slides & presentations: Simple and effective but need good visuals.
- Live sessions: Allow real-time interaction but require scheduling.
A video vs text course debate has no single answer. The best approach is to mix different formats for a richer experience.
Use videos for demos, PDFs for deep dives, and slides for summaries. Choose a format that makes learning easy, engaging, and accessible for your students. Let’s start creating!

Step 5: Create Your Course Content
When you create online course content, keep it simple and engaging. Your students need clear explanations, not complicated jargon.
If you’re recording course videos, focus on good lighting and clear sound. Speak naturally and at a steady pace. You don’t need a fancy studio; just a quiet space and a decent microphone.
Don’t stress about perfection. The goal is to deliver value, not flawless production. Mistakes make you sound more human and relatable.
Use real-life examples to help students connect with the material. Add practical exercises so they can apply what they learn.
Good course content keeps students engaged and coming back for more. Once it’s ready, it’s time to choose where to sell it!

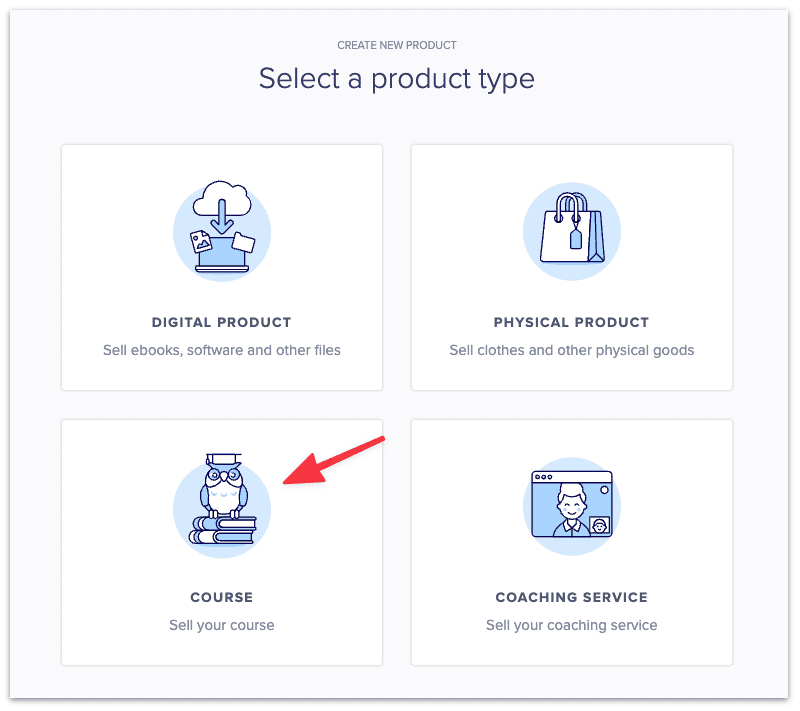
Step 6: Choose the Right Platform to Sell Your Course
You need a reliable place to host your courses and sell them. The best course platforms offer easy setup and built-in marketing tools.
Kajabi and Kartra are great all-in-one platforms for selling courses. They handle payments, email marketing, and even membership sites.
Some prefer to sell online courses on their own website. This gives more control but requires extra setup.
Think about your needs: do you want an all-in-one platform or full control? Choose a platform that makes selling simple and stress-free.
Step 7: Set the Right Price for Your Course
Your course price should be fair but also reflect your effort. When you price an online course, consider its value and competitor pricing.
Look at similar courses and see what they charge. The best price for digital courses depends on your audience, niche, and course length.


Conclusion
Created your first course? Well, it’s just the beginning. To improve your online course, listen to student feedback and make updates.
Reviews help you understand what’s working and what needs fixing. Small changes can make a big difference in engagement.
Keep your content fresh. Update digital courses with new insights and examples. The online learning space is always evolving.
Once you finish one course, don’t stop there! Use your experience to create more. The more you teach, the better you get.
Keep learning, keep improving, and keep sharing your knowledge with the world!