

Tighten your seatbelt, and let’s start the journey of building a beginner-friendly website in the easiest way possible!
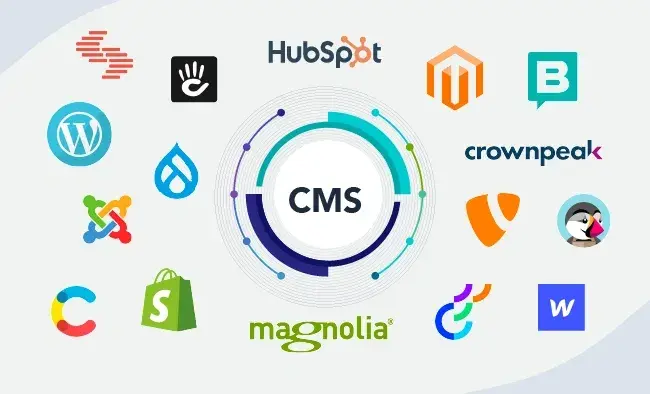
What is CMS?
A CMS (Content Management System) helps you build websites without coding. It’s a beginner-friendly website builder that simplifies content creation.
With a CMS, you can design, edit, and manage a website easily. Popular CMS platforms include WordPress, Joomla, Drupal, and Shopify.
WordPress is the most widely used, which powers over 40% of websites. Shopify is great for e-commerce, while Joomla and Drupal offer advanced customization.
What about CMS vs Coding? CMS platforms don’t require technical skills, while coding needs programming knowledge.
That’s why most websites use CMS for faster and easier setup. It’s the best choice for beginners and businesses alike.
Choose the Right Web Hosting
The right web hosting is crucial for your website’s performance. It affects speed, security, and uptime. A good host ensures your CMS runs smoothly and loads quickly.
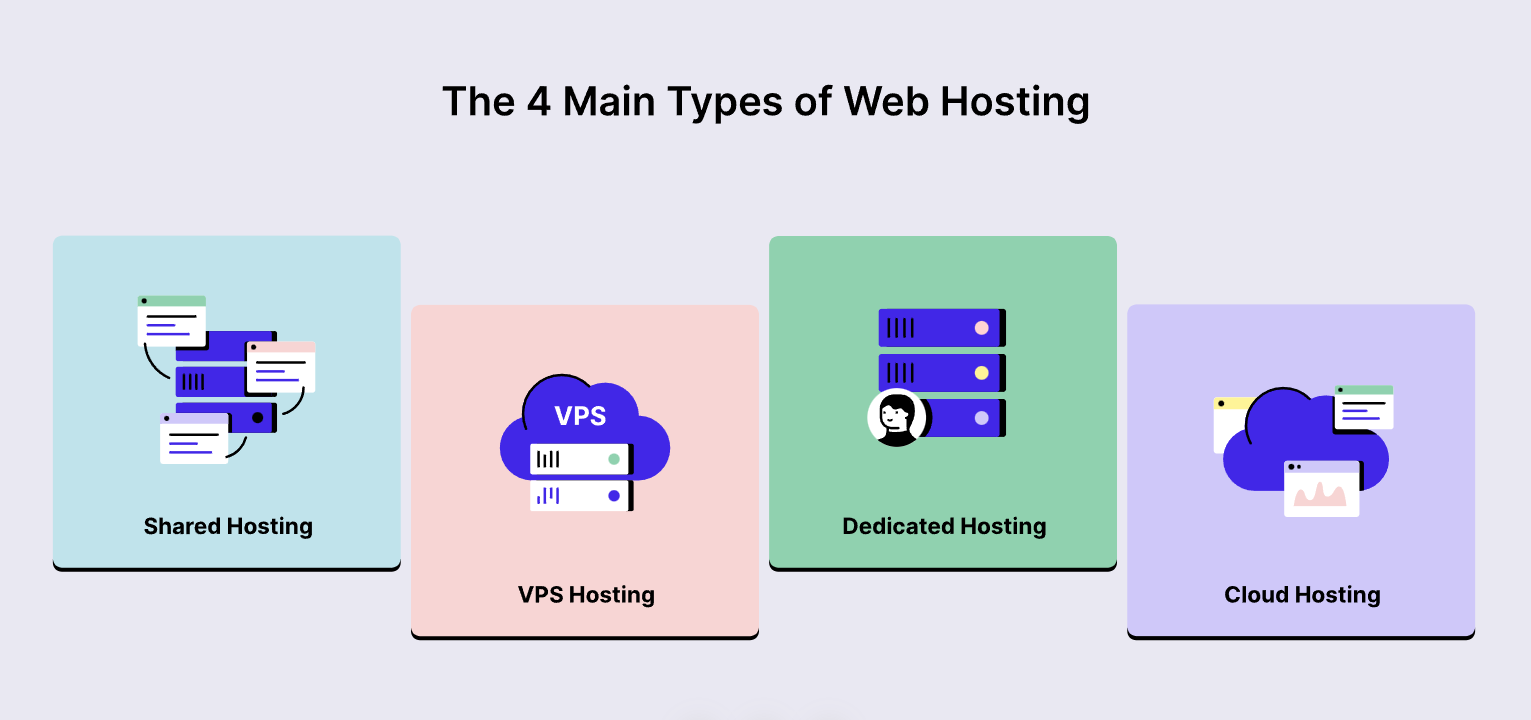
Types of Web Hosting
We can split web hosting into four primary types:
- Shared Hosting: Budget-friendly and great for beginners. Best for small websites.
- VPS Hosting: More resources and flexibility. Ideal for growing websites.
- Dedicated Hosting: Full server control and power. Best for large businesses.
- Cloud Hosting: Scalable and reliable. Perfect for high-traffic websites.
What to Look for in Web Hosting?
Here are three fundamental aspects you should consider before choosing any web hosting services:
- Speed: A fast website improves user experience and SEO.
- Security: SSL certificates and backups protect your site.
- Support: 24/7 customer service helps with technical issues.
Best Web Hosting for CMS
For beginner-friendly hosting, try Bluehost, SiteGround, or HostGator. They offer easy CMS installation, great support, and reliable performance. Choose a plan that fits your needs.
Connect the Domain with Your Hosting
To make your website live, you must connect your domain to hosting. Here’s a simple step-by-step domain setup guide.
Step 1: Get Your Domain
Buy a domain from a registrar like Namecheap or GoDaddy. If your hosting includes a free domain, use that.
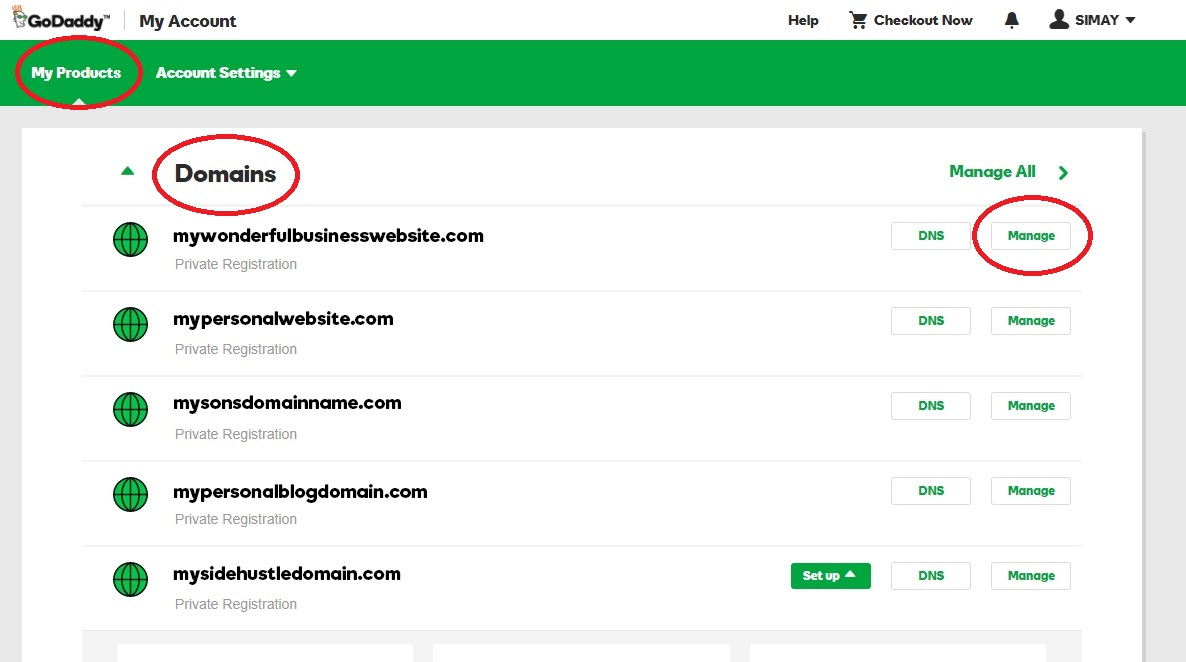
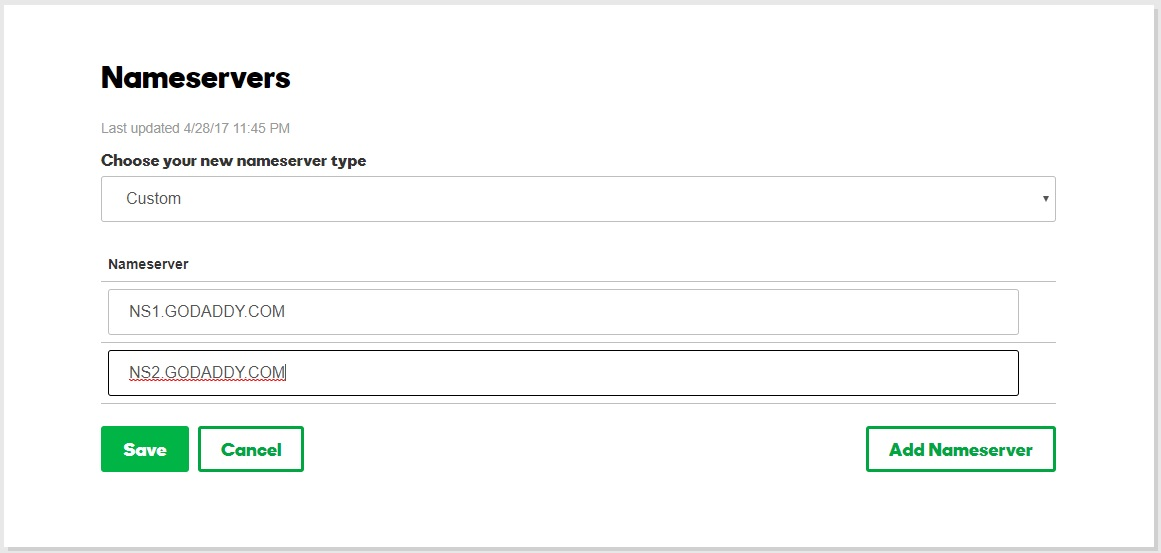
Step 2: Find Your Nameservers
Log into your hosting account (Bluehost, SiteGround, or HostGator). Locate the nameservers (they look like ns1.example.com, ns2.example.com).
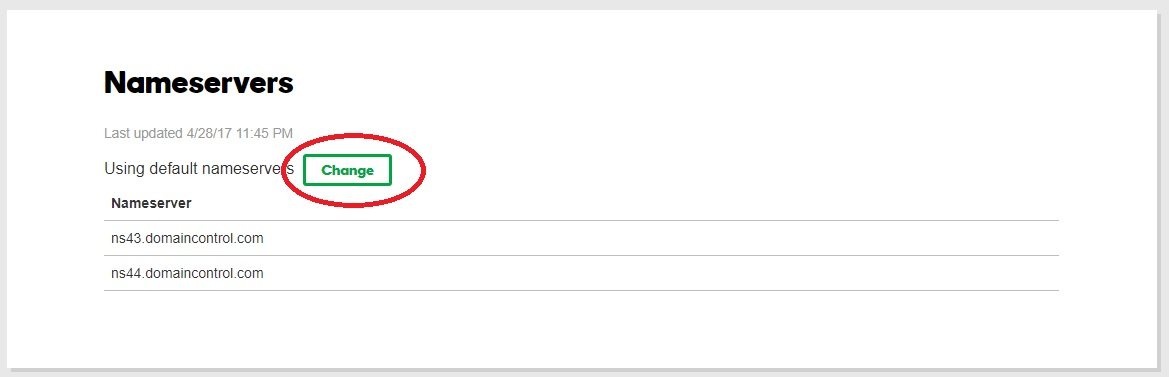
Step 3: Update Nameservers
Log into your domain registrar’s dashboard. Find the DNS settings. Replace the old one with your hosting’s nameservers. Save the changes and wait a few hours for DNS propagation.
Step 4: Link the Domain in Hosting
Go to your hosting control panel (cPanel or dashboard). Add your domain under ‘Addon Domains’ or ‘Domain Management.’
Connect it to your website files. Your domain is now linked! It may take around 24 hours to fully activate.
How to Install a CMS?
Installing WordPress is easy with a one-click CMS install. Most hosting providers offer automated setup for beginners.
- Log Into Your Hosting Account
- Go to your hosting provider’s dashboard or cPanel.
- Find the “WordPress Installer” under “Website” or “Softaculous Apps.”
- Start the Installation
- Click “Install WordPress” and choose your domain.
- Set your site name, admin username, and password.
- Click “Install” and wait for the process to finish.
- Log Into Your WordPress Dashboard
- Once installed, visit yourdomain.com/wp-admin.
- Enter your admin username and password.
- You’ll now see the WordPress dashboard.
- Customize Your Site
- Choose a theme under “Appearance” > “Themes.”
- Install essential plugins for security, SEO, and performance.
- Start creating pages, posts, and menus.
Your CMS website setup is now complete! You can start building content today.
Set Up Your Website
After installing WordPress, it’s time to customize your site. Choosing the right theme makes your website look professional.
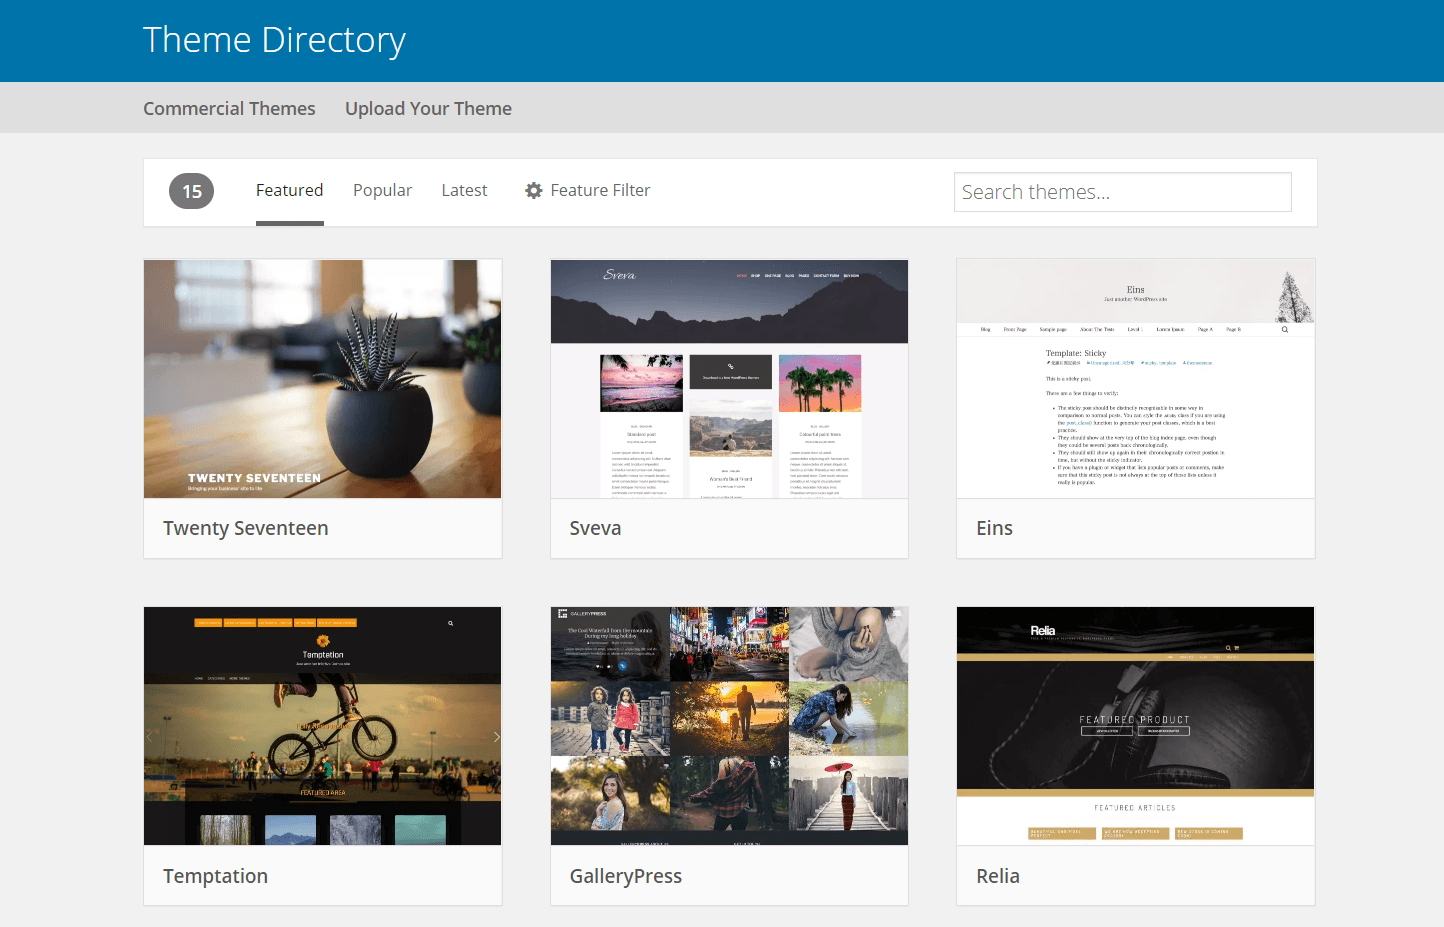
Choose and Install a Theme
- Go to “Appearance” > “Themes” in your WordPress dashboard.
- Click “Add New” and browse free or premium themes.
- Click “Install” and then “Activate” to apply the theme.
Customize Basic Settings
- Go to “Settings” > “General” to update site title and tagline.
- Upload your logo under “Customize” > “Site Identity.”
- Set your homepage under “Reading Settings.”
Create a User-Friendly Menu
- Go to “Appearance” > “Menus.”
- Add pages, categories, and custom links.
- Click “Save Menu” to apply changes.
Now, your beginner-friendly website is ready for content!
Add Pages & Content
Your website needs pages and posts to share information. Pages are for static content, while posts are for blogs.
Understand Pages vs. Posts
Pages are used for Home, About, Contact, and Services. Where, posts are used for blog articles, news, and updates.
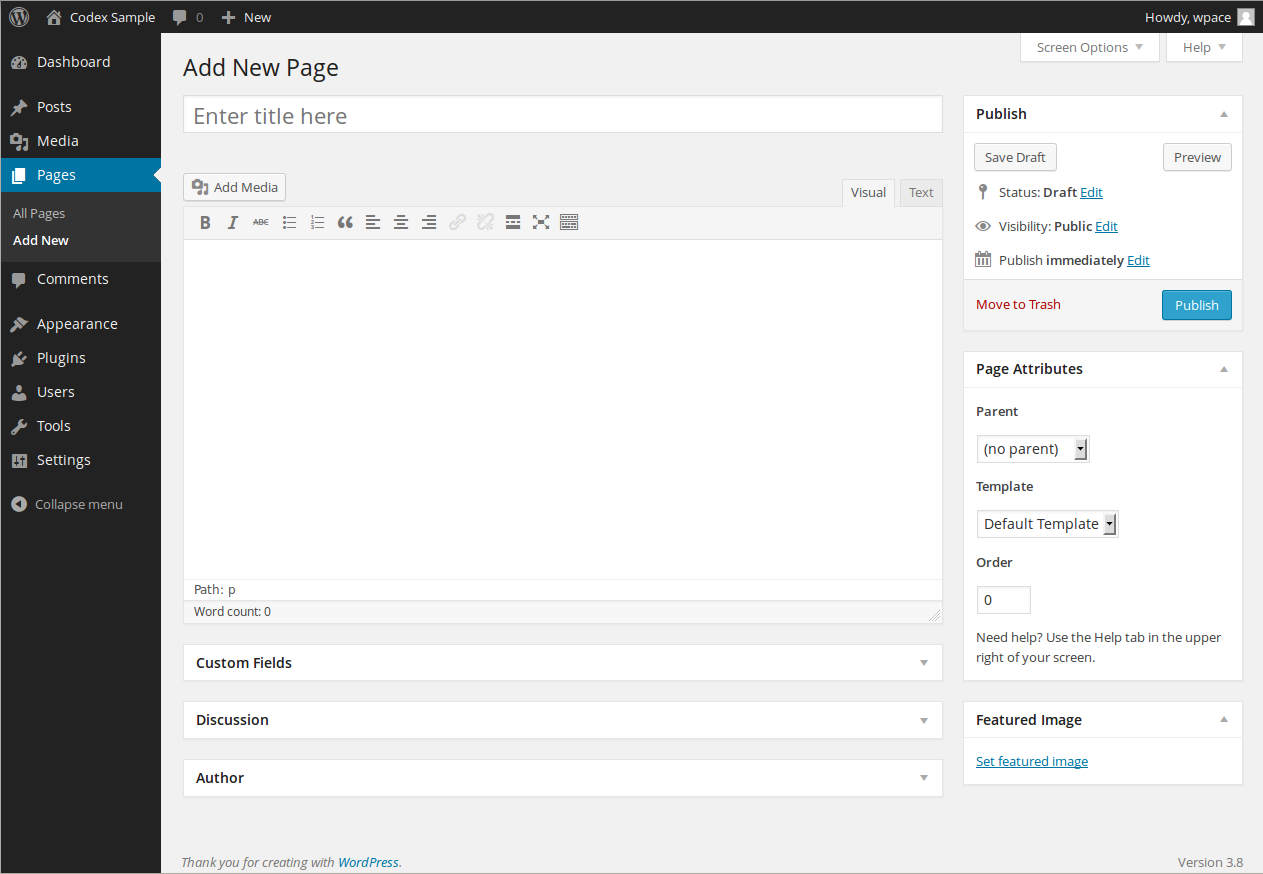
Create a New Page
Go to “Pages” > “Add New” in your dashboard. Enter a title (e.g., “About Us”) and write your content. Click “Publish” to make it live.
Add Content
Use the WordPress Block Editor to insert text, images, and buttons. Click “+” to add elements like videos, contact forms, and galleries.
Format text using bold, headings, and bullet points for readability. Your website content is now structured and engaging!
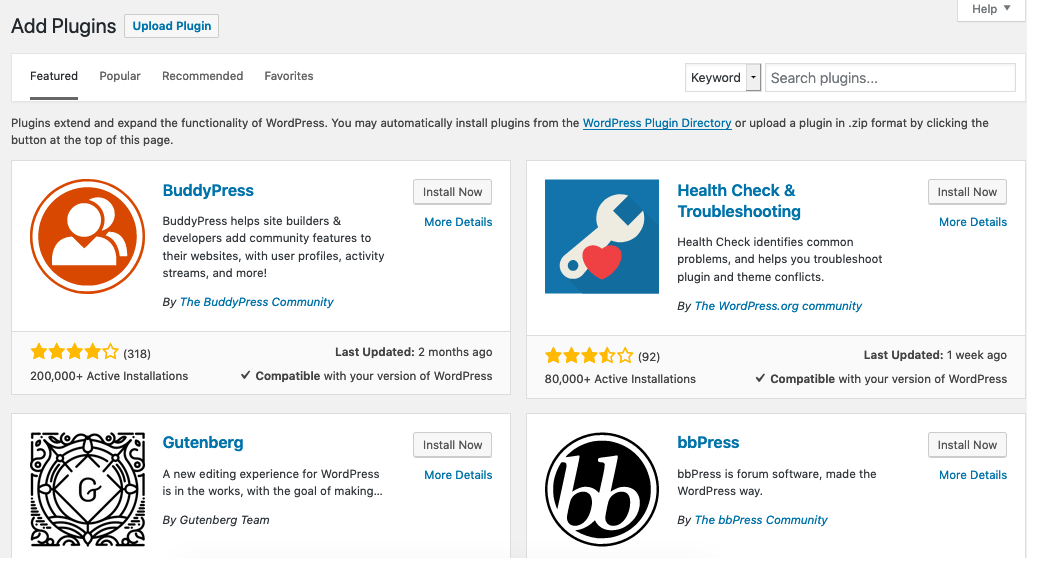
Install Essential Plugins
Plugins add extra features to your website without coding. They help with SEO, security, speed, and design. WordPress has thousands of plugins for different needs.
To install a plugin, go to the dashboard and click “Plugins” > “Add New.” Search for a plugin, then click “Install Now” and “Activate.”
Some must-have plugins include Yoast SEO for optimization, Wordfence for security, and WP Super Cache for speed.
Choose plugins with good reviews and regular updates. Avoid installing too many, as they can slow your site. Always update plugins to keep your website secure and running smoothly.
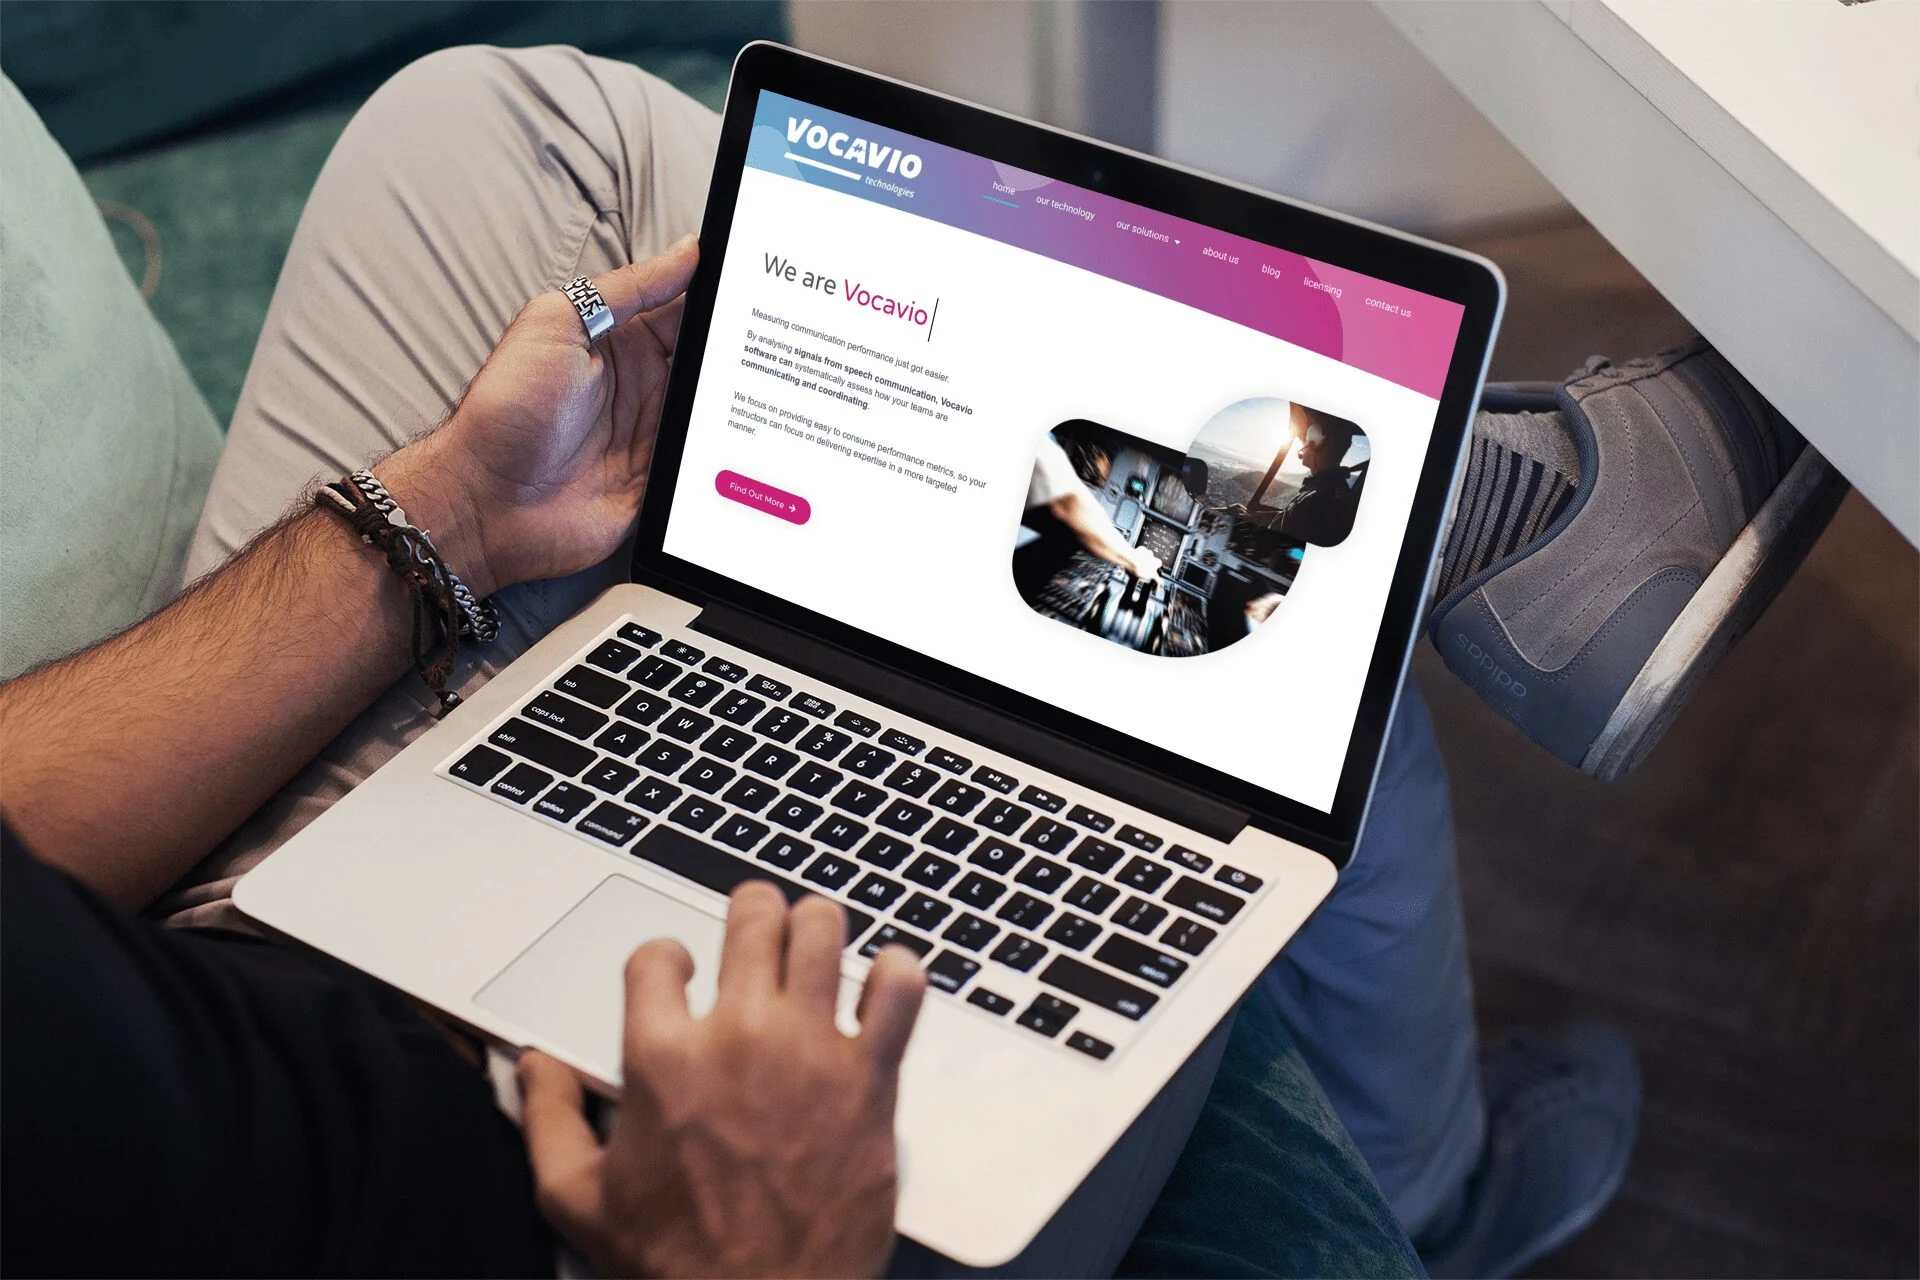
Publish Your Website
Before publishing, preview your website to catch any issues. Check every page, button, and image to ensure they load properly.
Test on different devices to see how it looks. Fix broken links, spelling errors, or design misalignment. Make sure your contact forms and navigation work smoothly.
Once everything looks good, go to your CMS dashboard and click “Publish.” Your website is now live!
Keep monitoring performance and update content regularly. A well-optimized, error-free site creates a great first impression and builds trust with visitors.
Conclusion
Now, you know how easy it’s to set up a website with a CMS. You’ve learned how to choose hosting, connect a domain, install WordPress, and customize your site.
The right hosting is essential for speed, security, and performance. A reliable provider ensures your website runs smoothly without downtime.
After your site is live, focus on regular updates, security, and content improvements. Choose a hosting service that supports your growth, like Bluehost, SiteGround, or HostGator.